
Build guide
A clean wall starts with one good line.
Snap each bay together, mark the center of your display area, and build outward. That is the whole idea-no complicated construction project required.
No DIY heroics required. Careful measuring matters more than advanced tools.
01
Most important step
Set the first bracket level and build from a measured centerline.
Everything after that follows the layout.
Before you begin
Four basics. About five minutes of planning.
Use a drill only if your wall and chosen fastener call for one.
- ?Tape measureSize the wall and locate center.
- ?LevelProtect the first row from drift.
- ?PencilMake light, removable marks.
- ?Phillips screwdriverUse the size that fully seats in the supplied screw head.
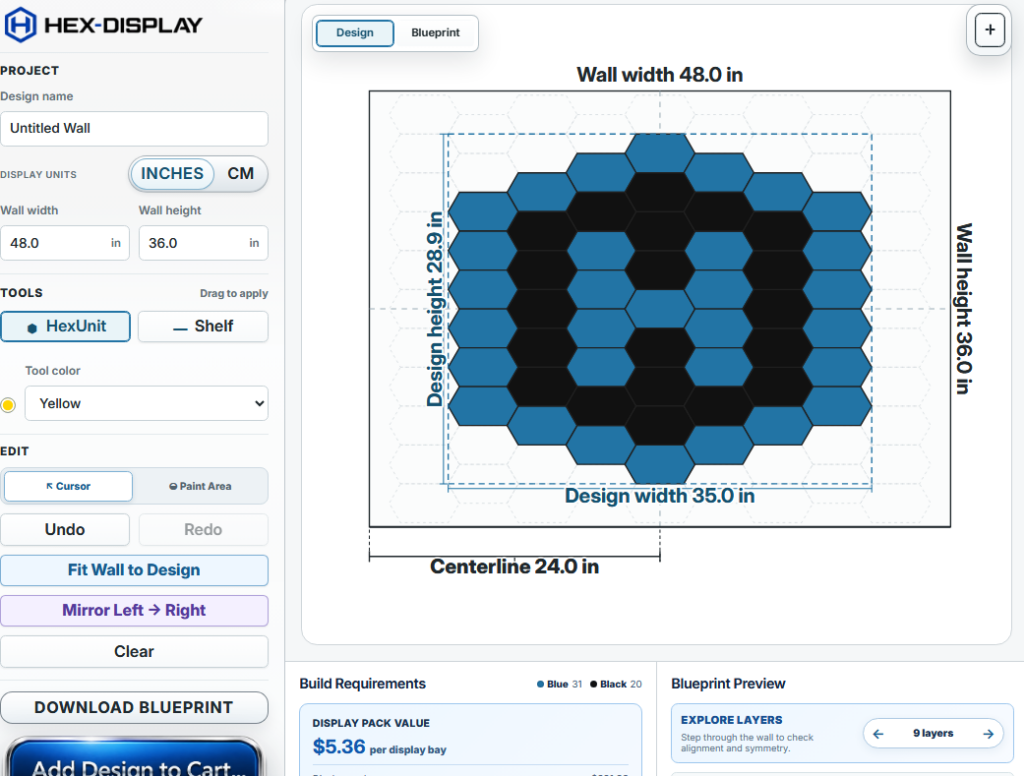
Optional planning shortcut
Let the Wall Designer handle the spacing math.
You do not need the designer to install HexDisplay. If you want a precise footprint, a centered layout, or a symmetrical shape without calculating it yourself, enter the available wall size and let the tool create a layer-by-layer blueprint.
- 1 Enter the space you have available.
- 2 Sketch the shape and center it visually.
- 3 Use the blueprint-or simply build by eye.
Step-by-step
Choose where you are in the build.
Start with the box, or jump directly to mounting.
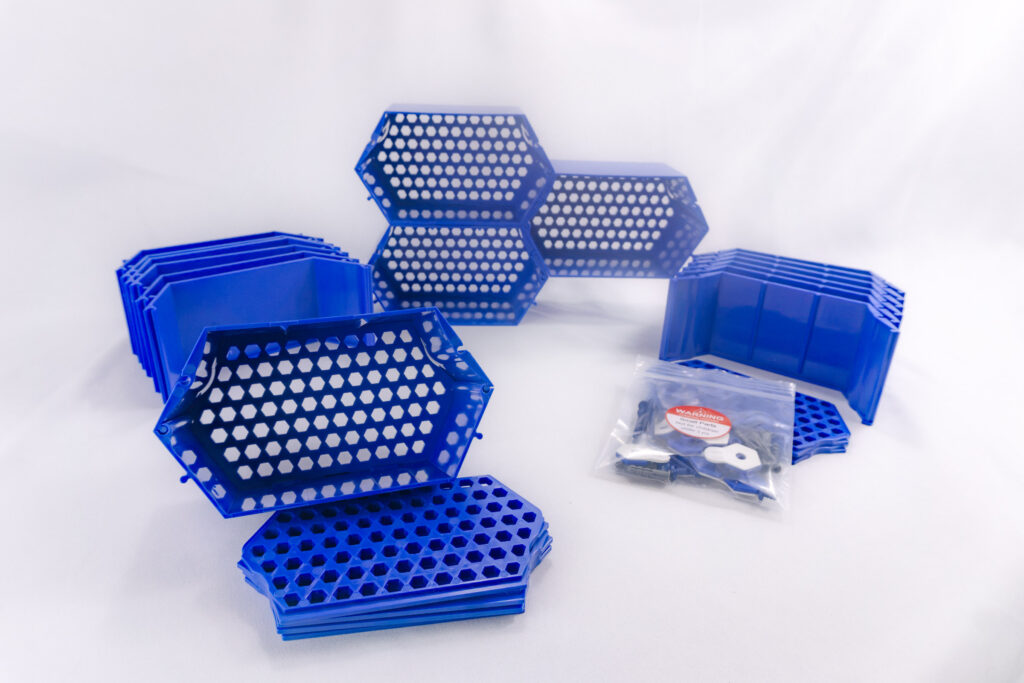
First: identify the three molded parts
Three parts form one display bay.
The shell halves and perforated back are keyed so they only assemble correctly in one orientation. Use the flat backside as your guide: when everything is seated properly, all three parts line up flush.
- 1Start with the bottom shellNotice the flat rear edge and the rounded cutouts that match the back panel.
- 2Slide the top shell onto the bottomContinue until the flat rear edges of both shell halves line up flush.
- 3Insert the perforated back panelAlign its relieved edge with the rounded cutouts, then press until the panel clicks into place and sits flush with the backside.
Inside a 10-pack
Everything repeats in matching sets of ten.
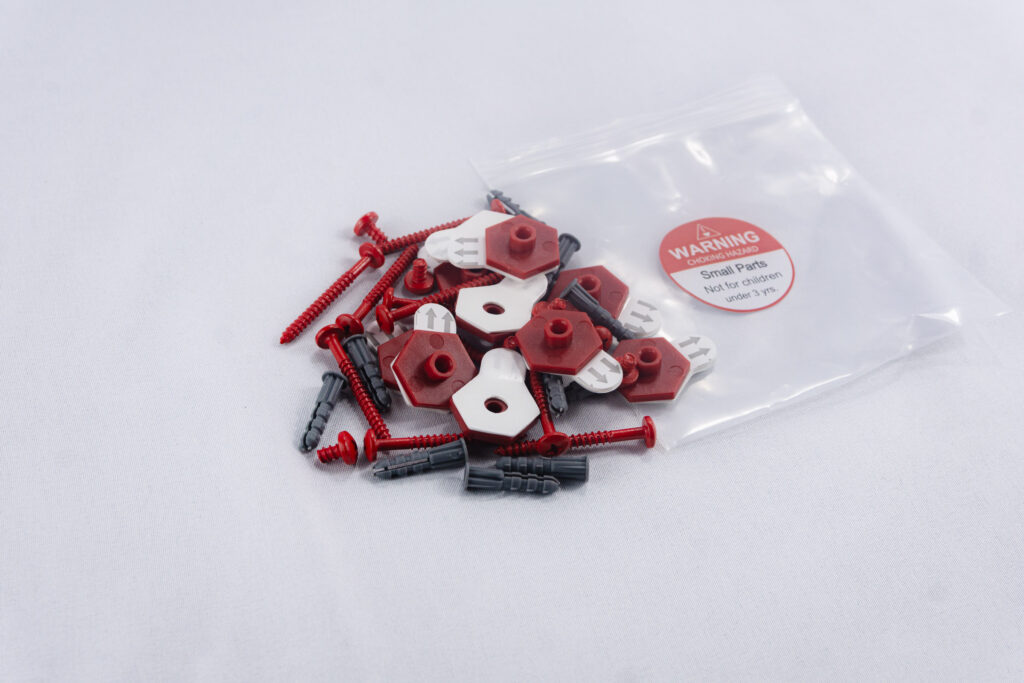
Ten display units, ten color-matched mounting brackets, short and long color-matched screws, drywall anchors, and adhesive mounting strips.
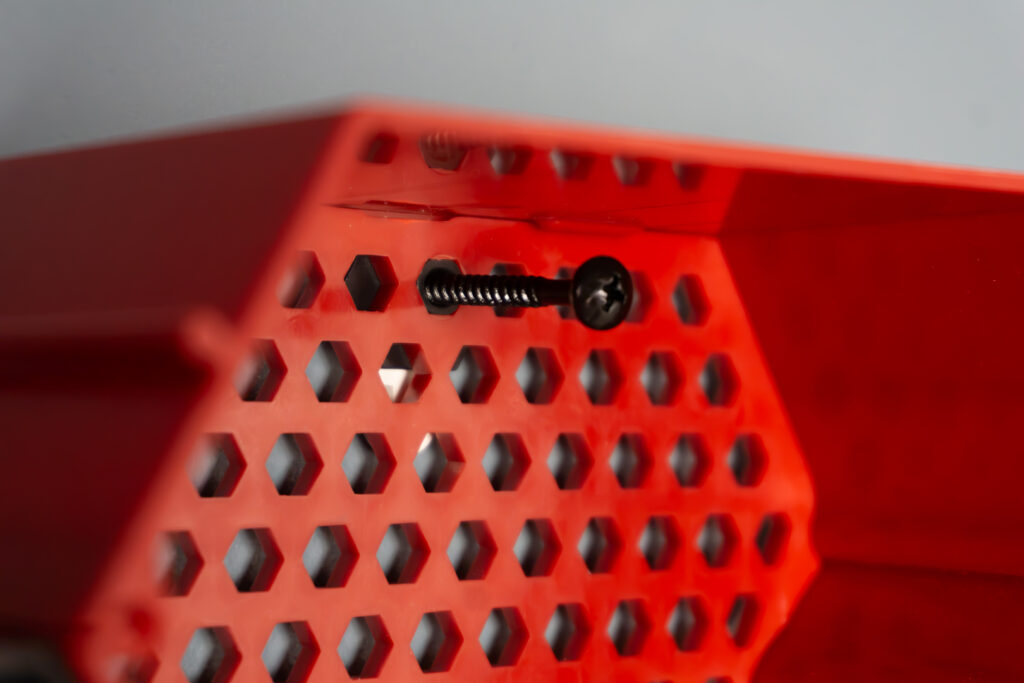
Short vs. long screws
Match the fastener to the bracket, wall material, and mounting method. Never force or overtighten hardware.
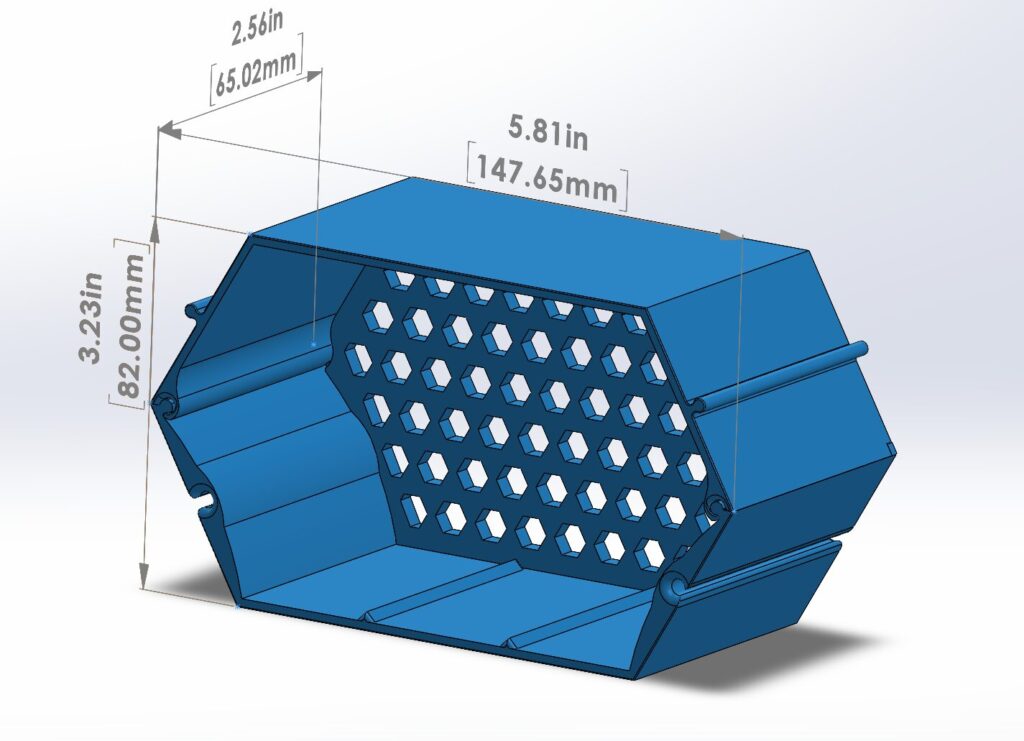
Technical reference
One bay, measured.
Use these outside dimensions only when you need to check clearance around trim, shelves, outlets, or nearby furniture.
01
Mark the display area and centerline
Identify the width and height you want the finished display to occupy, then make a light center mark.
You can build outward by eye from that line. Use the Wall Designer only if you want exact footprint and layer measurements without doing the math.
02
Choose the mounting method
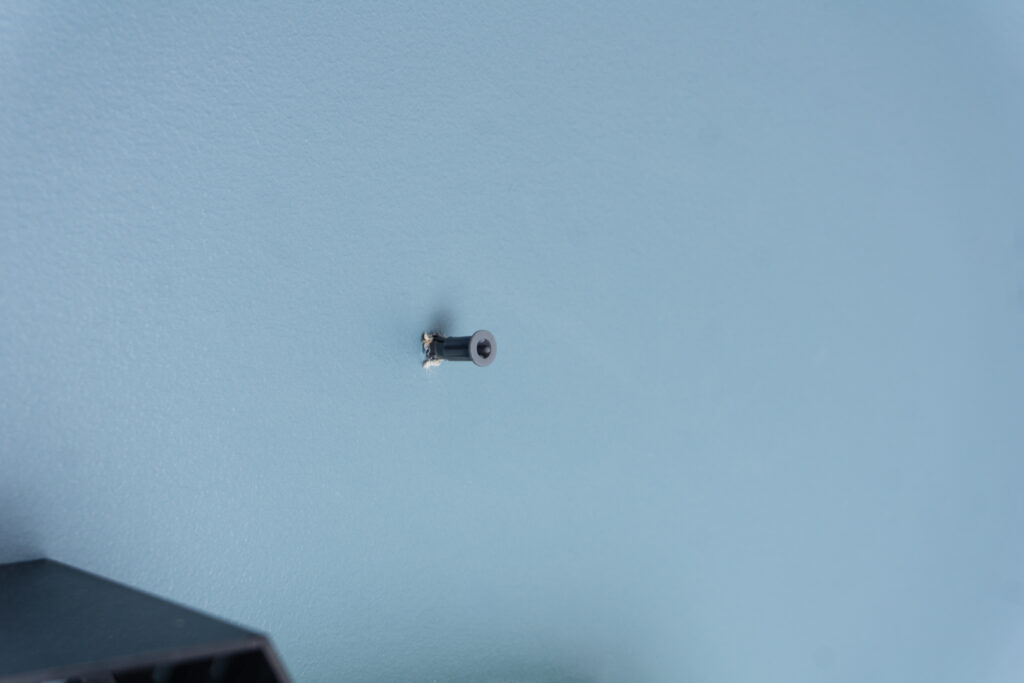
Wood or stud: use an appropriate screw directly into solid material.
Drywall: use an anchor and compatible screw where adequate structure is not available.
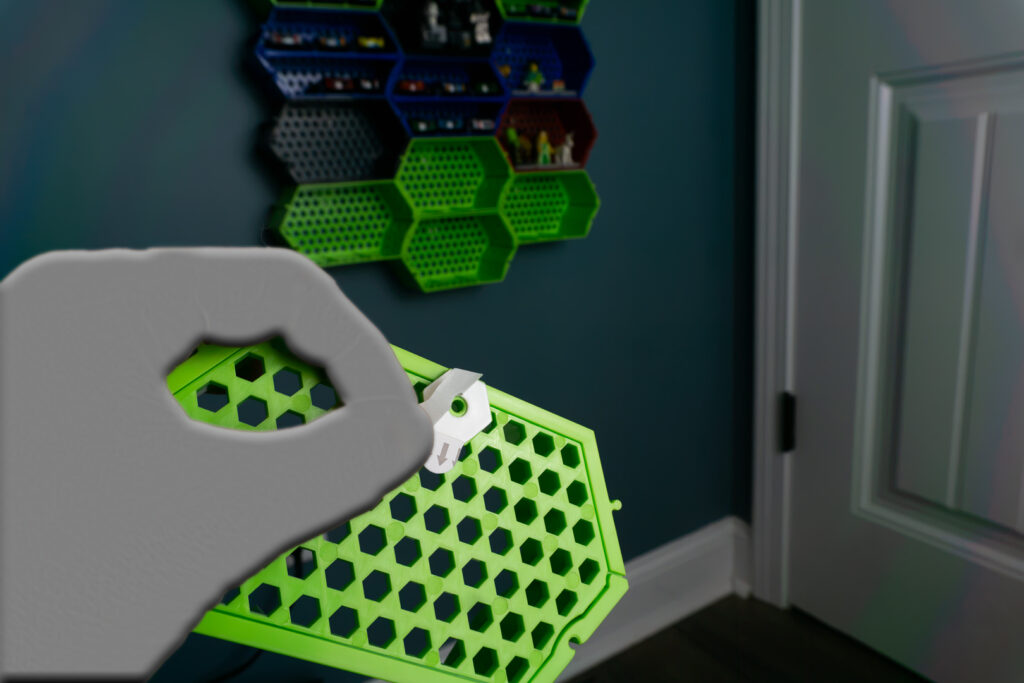
No-drill: use the included adhesive strips only on suitable, prepared surfaces.
03
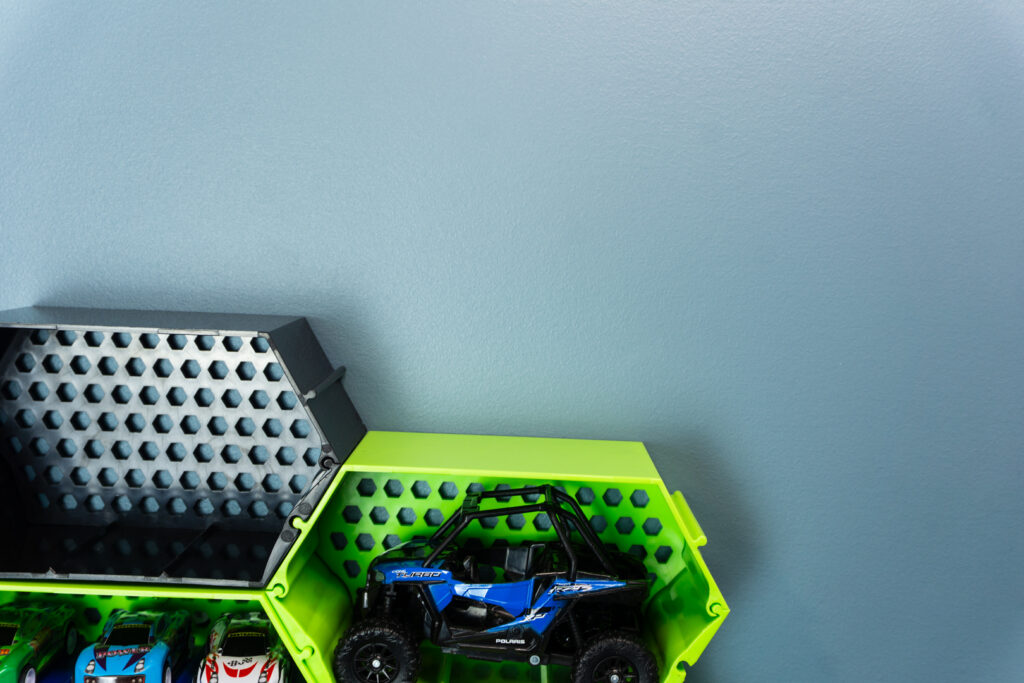
Place and level the first bracket.
Hold the bracket at the first position. Check level before making the final pencil mark or fastening it.
04
Secure it for your wall type.
Use the fastener appropriate for the substrate. Keep the bracket flat and stop when it is secure-do not overtighten.
05
Or prepare the no-drill option.
Clean and dry the compatible surface, apply the adhesive strip as directed, and observe the strip manufacturer’s surface and cure-time requirements.
06
Attach the bay, then build outward.
Seat the display bay on the mounted bracket. Recheck the first bay, then follow the shape outward one bay at a time.
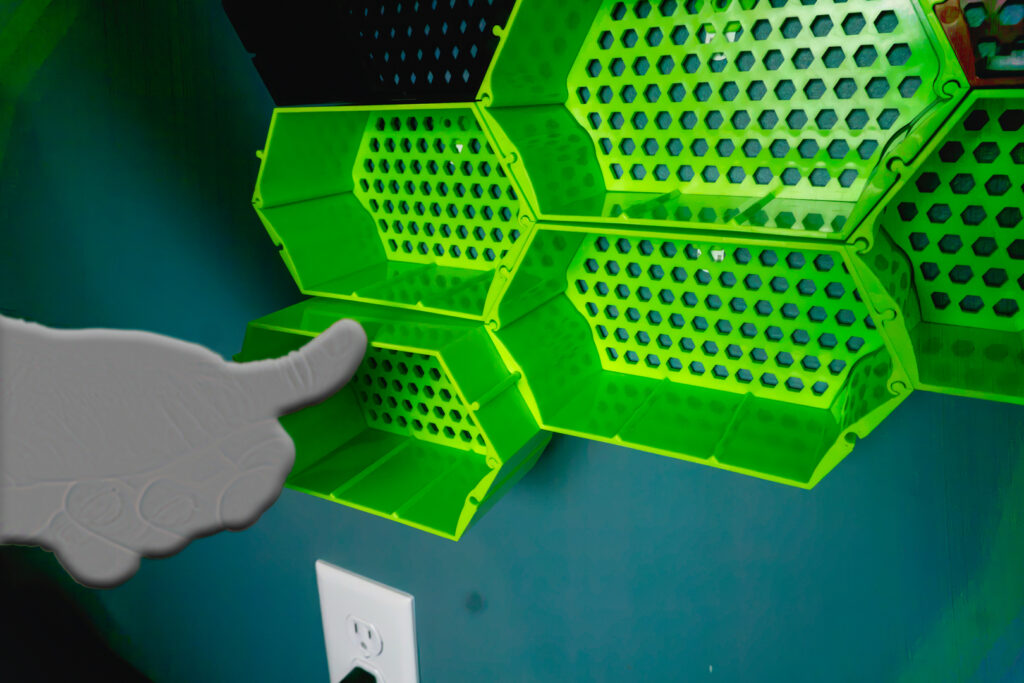
Final check
Inspect support before loading the collection.
Confirm that every bay is fully seated, brackets are secure, and separated or unsupported sections have adequate additional support.
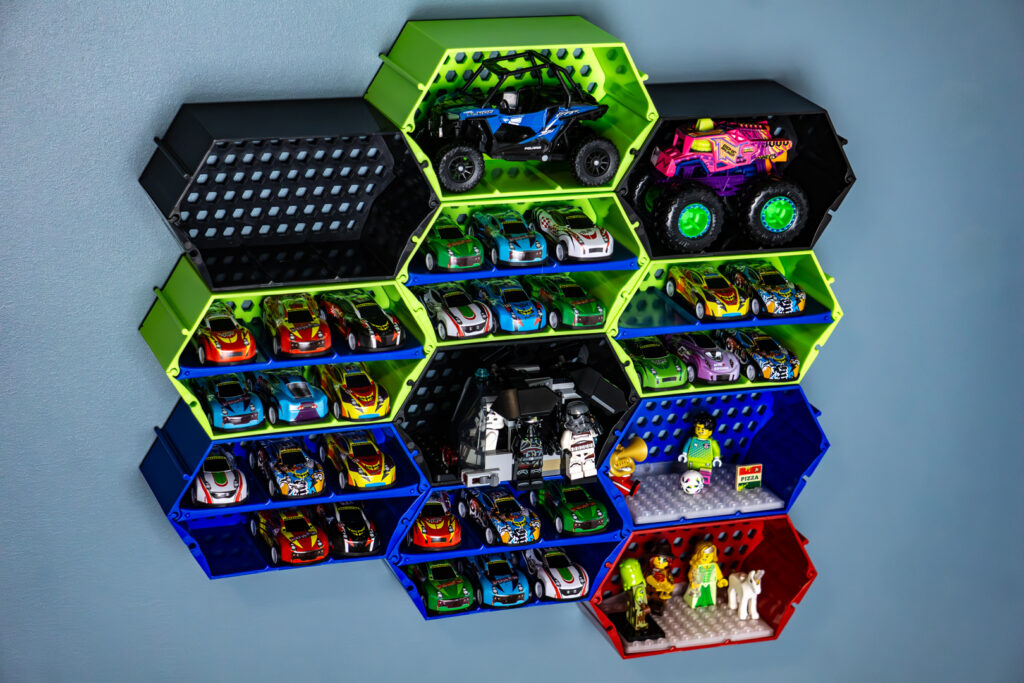
Installation responsibility
Included wall anchors and adhesive strips are optional and may not be suitable for every wall or surface. The customer is responsible for selecting appropriate fasteners, following applicable product instructions, and installing the system with sufficient support for the intended load.